On the 24th of March it was a clear sunny day. With clouds forecast to come over from midday, I decided to get out and do some solar imaging with the Quark.
Active region 2736 was close to the Sun’s limb. This set off a powerful flare a few days ago, and I know from experience that an active spot on the limb can show some incredible detail and activity.
For those interested, here’s the setup I use:
120mm Evostar refractor. It’s not the best for chromatic aberration, but working in narrow band the Hydrogen Alpha red wavelengths, this does not effect the image.
Lunt Herschel Wedge. For white light imaging.
Baader Solar Continuum Filter. To enhance spot and solar granulation detail when white light imaging.
Daystar Quark Chromosphere. I have now had this one almost two years and it is working extremely well. Click here to read my Quark, Or Not to Quark Page.
DMK41 Imaging Source camera. It is a monochrome camera. I create the orange colour afterwards in Photoshop.
A tilt adapter. To prevent Newton’s Rings when using the Quark.
An inch and a quarter focal reducer. To get a slightly wider field of view and brighter image.
Sharpcap Pro. 60 second videos captured.
AutoStakkert! Initial AVI processing.
Registax. Wavelet sharpening.
Photoshop. Further sharpening, Curves to reveal faint detail and adding colour.
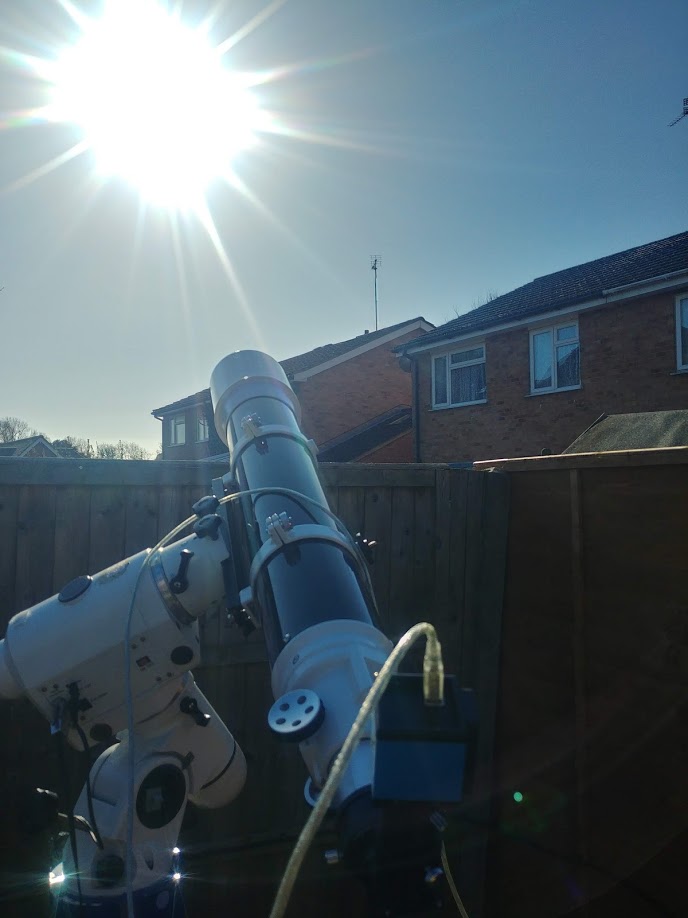
The setup shown above was with the Herschel Wedge in place.
The seeing looked pretty awful as I started, but thought I’d persevere anyway.
As the Quark was coming up to temperature, I put the Herschel Wedge in to capture it in white light.
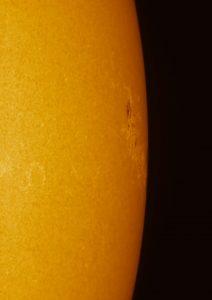
The spot looks extremely foreshortened and the surrounding bright faculae stand out pretty well against the darker edge of The Sun’s disk.
By the time I had finished taking this, the Quark had come up to temperature and was ready. So I removed the wedge and Continuum filter and set everything up for narrow band Hydrogen Alpha imaging.
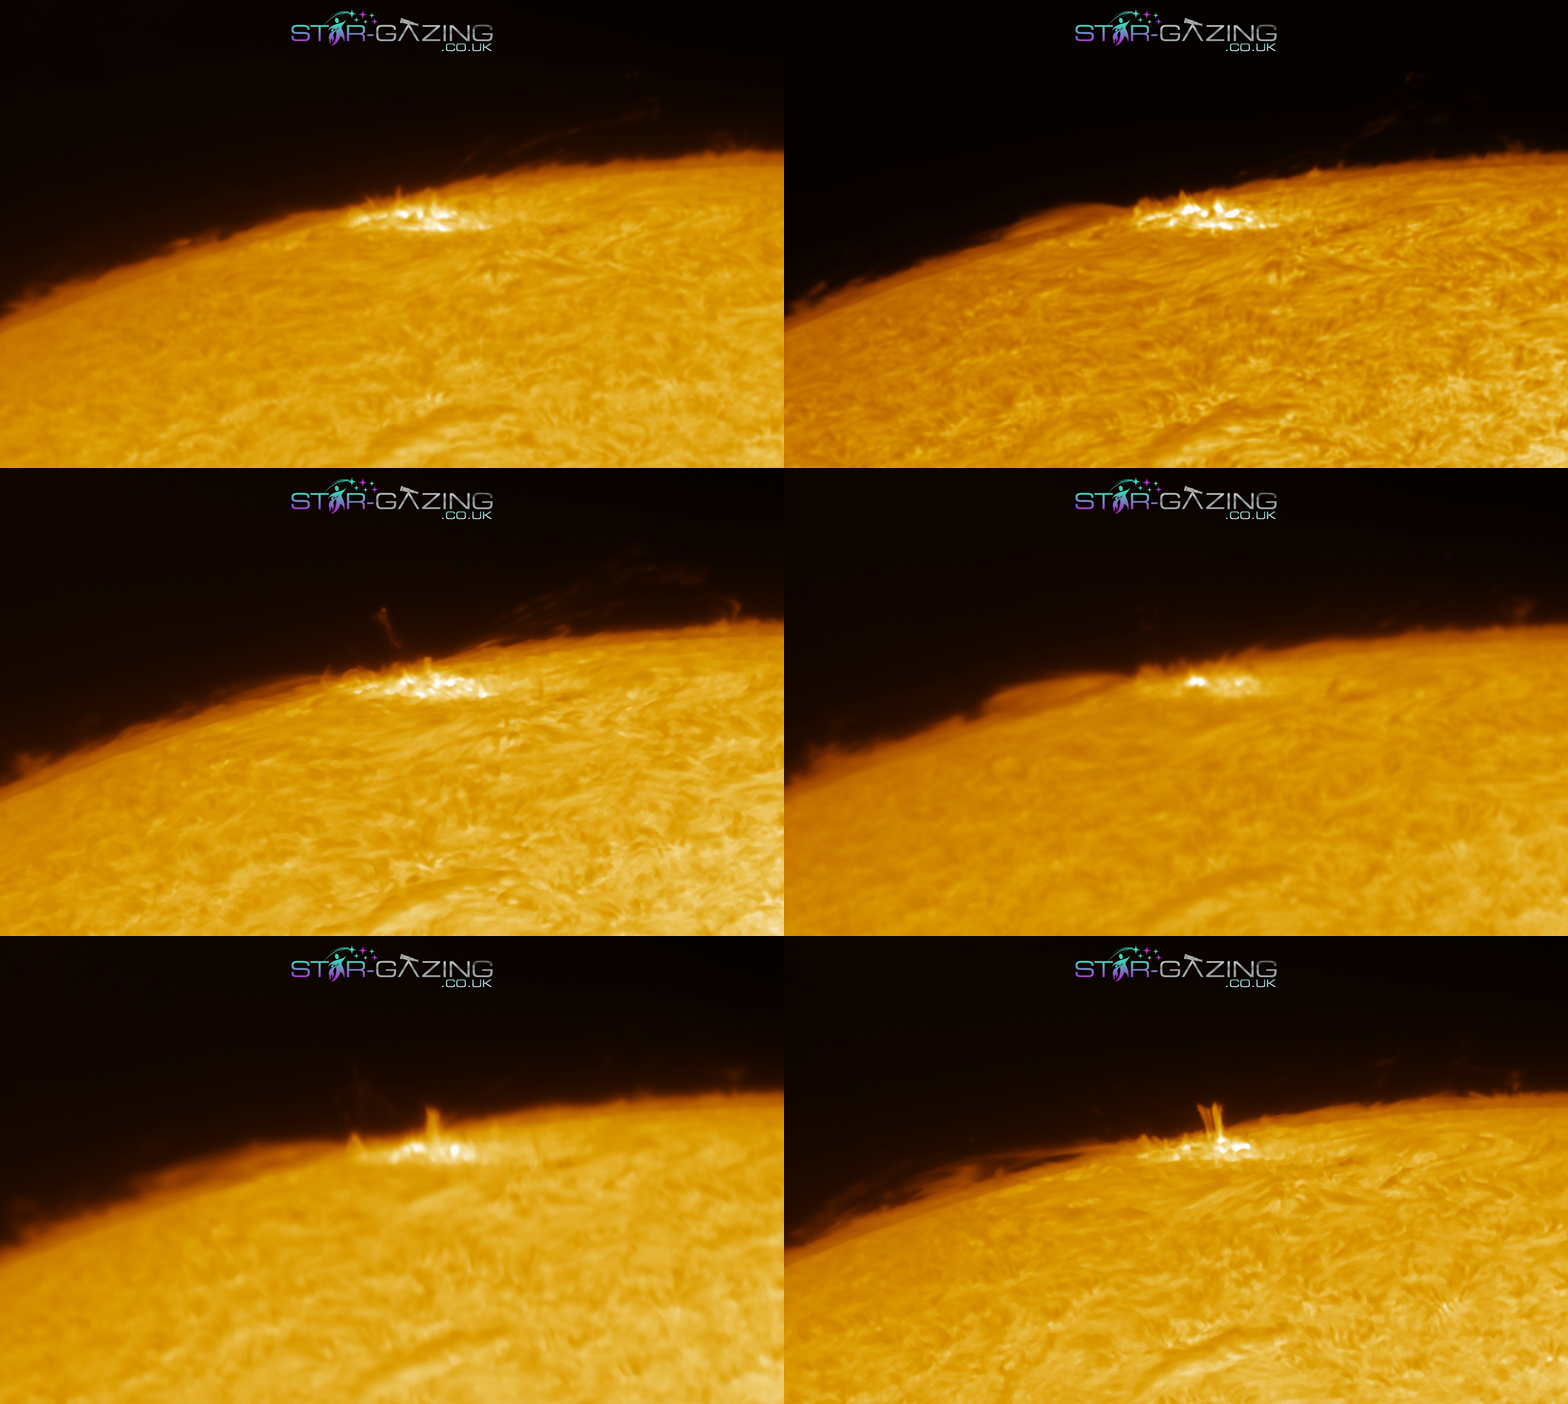
One glimpse showed me that there was a lot going on around this spot. Some faint line of plasma were held suspended above the chromosphere, to one side of the spot.
As I was imaging, a strange bulge developed, which I had never seen before. Towards the end of the two hour imaging session, what looked like a surge prom was developing. At this time seeing had gone down horrendously and most of the detail in the captured AVI’s had now been lost. As the day was heating up in the sunshine, and some scudding clouds had now started to interfere, the time to finish imaging was fast approaching.
I had been taking images for over two hours, from 09:11 until 11:19. I tried to take an AVI every 2 minutes or so. It was finally time to stop imaging and then start processing all those AVI’s to produce the images for the animation. I ended up with 37 images at the end of the imaging run.
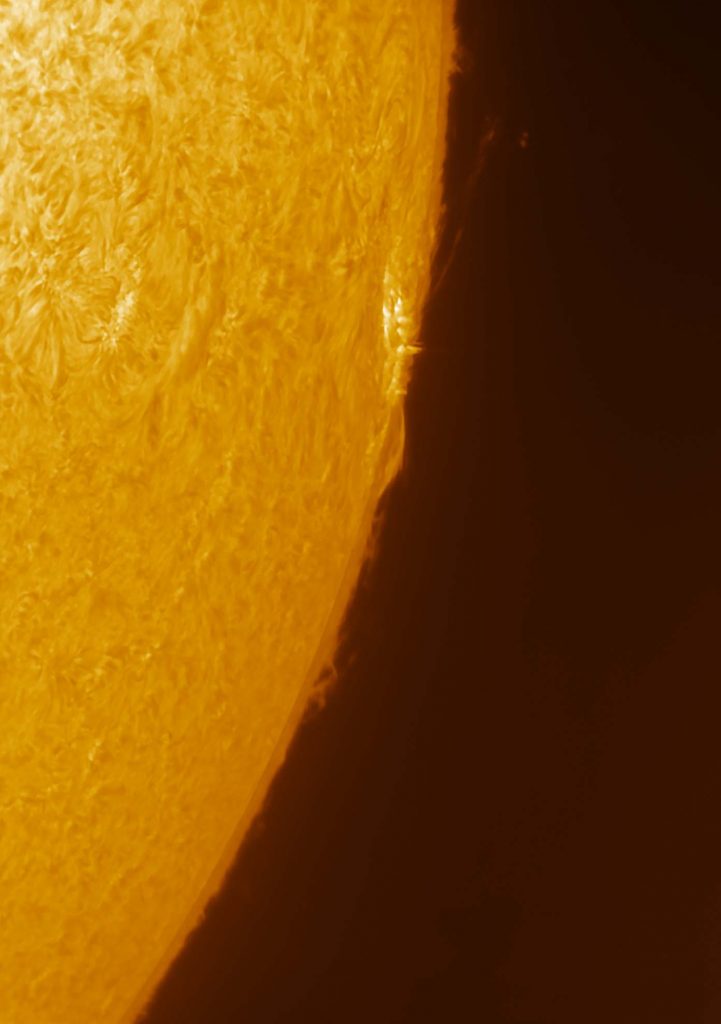
This is a single image of the active region. I then spent the best part of the whole day processing the images and getting them ready to make animation to show what was going on. At one point a strange “bulge” appeared.
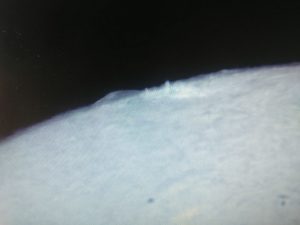
The phone shot of the screen below, shows what I could see.
The resulting animation is below. I was totally blown away.
There is so much going on here.
The active region itself is bubbling away nicely, plumes of plasma being thrown out with the surge prom/s developing towards the end of the animation. The suspended plasma is seen streaking across and falling into the sunspot, following the magnetic field lines of the spot. You can also see the rotation of the Sun throughout the duration of the animation, as the active region moves closer to the limb.
I could look at this animation for hours. Totally mesmerising.
That’s why I love doing solar stuff.
You just never know what you are going to see every time you set things up.
This ius a single image of the
