If that is the question, what is the answer?
Here’s my experience so far from using the Quark solar filter.
I have long looked for something to keep me more active during the summer, when night skies are rare.
So I thought solar viewing / imaging would be a good option for continuing some sort of observing going throughout the summer.
My solar journey started well over two years ago when I decided to get a dedicated 60mm Lunt Solar telescope with a pressure tuner.
From the very moment I started to use it, both visually and imaging, I was totally blown away with the view and results.
So much so, that I really got the bug for our ever-changing nearest star, much more than I ever expected.
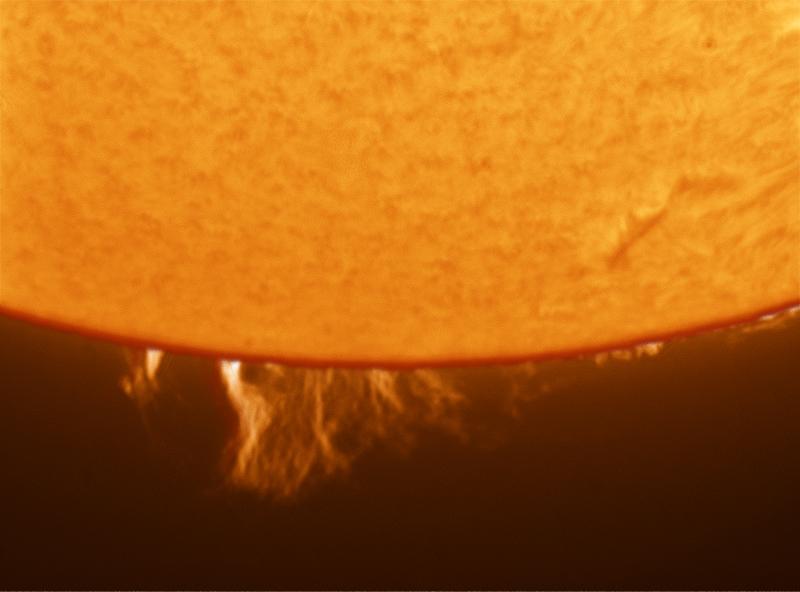
One of my first images with the Lunt solar scope. 16th May 2017.
So just over a year and a half later, despite the Lunt being a star performer, I started to yearn for a little bit more from my solar images (as you do!).
So at this stage I started to look at potential options.
When my new research started, I was amazed at how much price of solar equipment had gone up enormously since the time I bought my Lunt.
Whichever way you looked at doing it, whatever the upgrade, this looked like it was going to be very expensive.
Like many people, there are far too many other things to spend your money on, like bills, car maintenance and other wish lists.
Something like this is well down in my list of other priorities, so I had to investigate all options and costs and see what each option would give me.
Whatever I decided to do, it would need to be within reasonable cost restraints and those costs would need to make the upgrade worth doing and give me the boost needed.
I really enjoyed the view using Hydrogen Alpha (I’m not a fan of Calcium scopes), so started to look seriously at what Ha options were available within a reasonable budget.
So here were my choices:
Lunt. I could get a bigger one, but the price is now looking at over £2,000, most likely well over £3,000 and upwards for a reasonable upgrade.
I would have to trade my existing Lunt in to help fund this.
The 60mm has a fairly wide field of view, just under the solar disk, (if two images are taken).
Full disk image taken using four images. 16th May 2017.
Two for the disk, two for the fainter prominences.
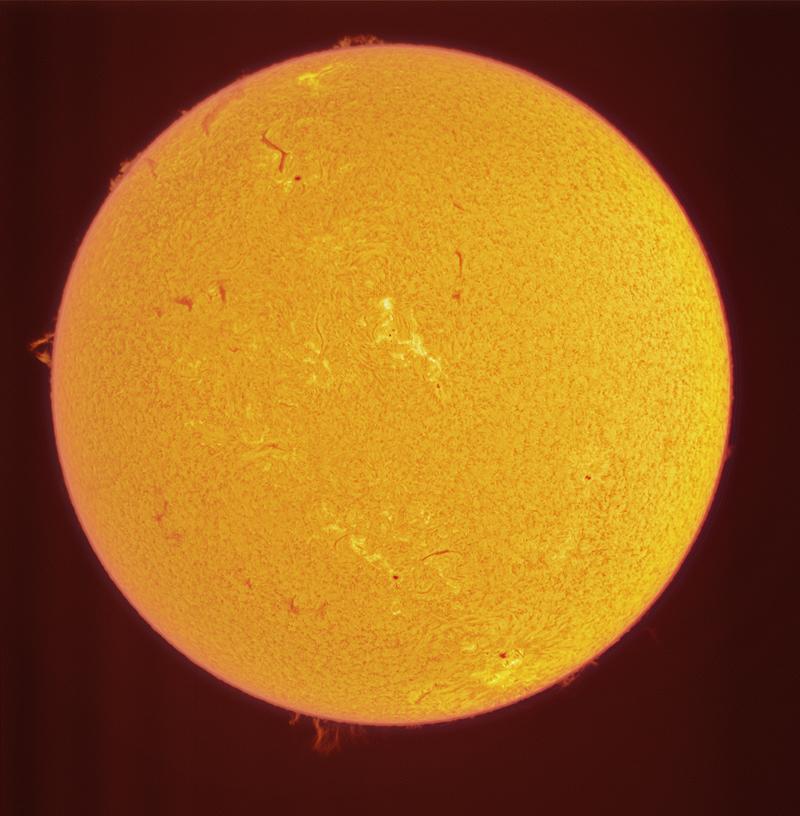
This enables me to capture full disk solar images, not an ability I would really want to lose.
So I’d like to keep the Lunt if possible.
So with this in consideration, what options were open to me?
Coronado. I have not had much experience with these, although they have had some great reports. They did have a problem with “rusty” filters at one point. This manufacturing fault has now been resolved. So if you are buying a new instrument, it should not be affected. Just watch out what if you are buying second hand.
Again, looking at all the costs, any upgrade was eye-watering!
Solarscope. These filters look extremely good and can be used on ordinary refractors. But they’re not cheap.
Daystar. These do a reasonably “cheap” at ~ £1,000 (by that, I mean when compared to a dedicated solar scope) Quark device.
This (According to their literature and Web site) can be used on any suitable refractor.
I have seen many images taken using this device on the Web and social media. It really did look like a really nice (and a fairly cheap) option.
There was some talk of problems, but whatever they may have been look like they may have now been resolved.
The expense of the Lunt, Solarscope or Coronado upgrades just could not be justified, so despite the misgivings, and catching a stunning glimpse through one last Kelling, I was now leaning towards the Quark.
The Quark seemed to offer everything I might need for my budget, so just before Christmas 2016, I finally bit the bullet and ordered the Chromo version from 365Astronomy.
Apparently, the etalon that they make to filter the wavelength of light coming through the system is very difficult to get exact. So they have two versions, the Chromo and a Prominence version depending on the exact wavelength of that particular etalon.
I wanted both. Further reading showed that the Chromo version also showed prominences, so that was what I decided to go for.
After ordering, the Quark was efficiently delivered and I waited for a sunny day (In the middle of winter! – Ha!) to test it out.
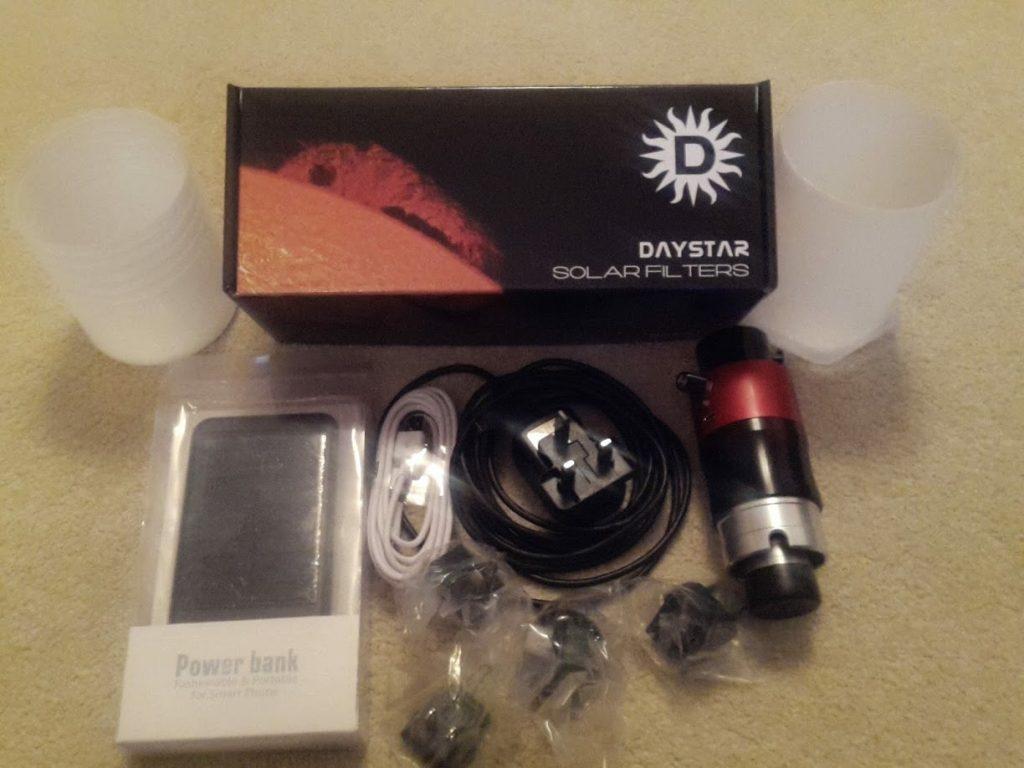
Once I got a clear sky, I put the device on my ED80 and took in the view.
I must admit that the view left me very disappointed as it did leave a lot to be desired.
The image very faint, especially when compared to the 60mm Lunt. I could see bright prominences and some nice detail.
But, it’s got more aperture, so why isn’t the image brighter than the Lunt?
Despite being the Chromosphere model, there was also very little detail seen visually in the faint image.
But I do imaging most of the time anyway, so how does that pan out?
I put in my DMK41 camera and took some images.
The exposure could bring out much more detail and I was fairly happy that I could reveal lots imaging the Sun this way.
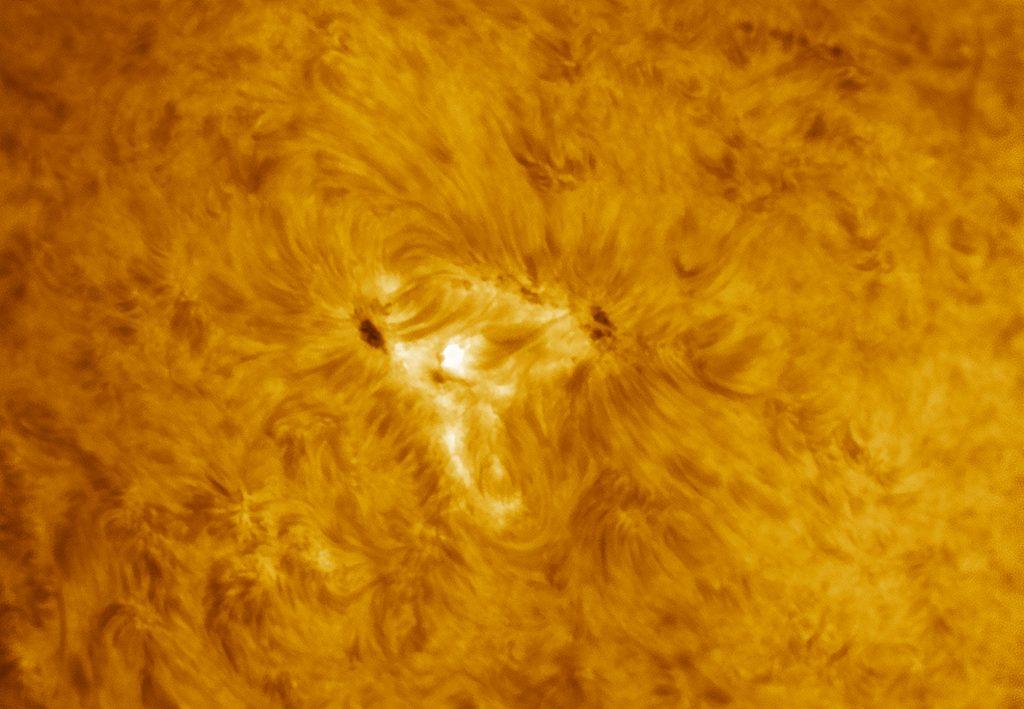
Fantastic detail could be seen in prominences and the chromosphere, and sunspots (when they appeared) showed fantastic detail.
The only bugbear was the amount of time it took to indicate it was ready. Unlike the Lunt, the Quark is electrically powered. When the setting is changed, it takes up to 10 minutes to reach the operating temperature, and sometimes more, to indicate ready when the electronic tuning had settled.
It took quite a while before I felt I had mastered the tuning and tamed the Quark sufficiently to get to a point where I was producing some very satisfying images.
The ED80 so far had achieved great results, but research told me that the Quark works much better with a longer focal length telescope than the ED80.
So I opted to purchase a 120 Evostar specifically for use with the Quark.
This is a fairly cheap telescope, which suffers from a bit of chromatic aberration.
But as the Quark is only working at a restricted wavelength down at the red end of the spectrum, this doesn’t really affect the image produced by the Quark.
The Evostar duly arrived.
When using a bigger aperture, it is best to use an energy reduction filter.
Up to this aperture an Astronomic UV/IR filter is sufficient, so safety being the ruler, that was soon acquired on its way.
Note: If you use a bigger aperture than 120mm, you will need to use a much more efficient Energy Reduction Filter (ERF).
The cost of these can be just as eye-watering as the dedicated solar scope itself. Be warned!
So the advertising stating that the Quark can be used on any refractor needs to be looked at carefully. I would always advise you to use a ERF when using the device. As we all know not reducing the Sun’s energy coming down through the optical path can be dangerous.
The Evostar really bought the Quark images to life.
Things went very well for a few months on the occasions I was able to go out and produce images, the tuning still seemed to take a long time, but one one weekend things started to go very wrong extremely quickly.
My last good image before it all went horribly wrong.
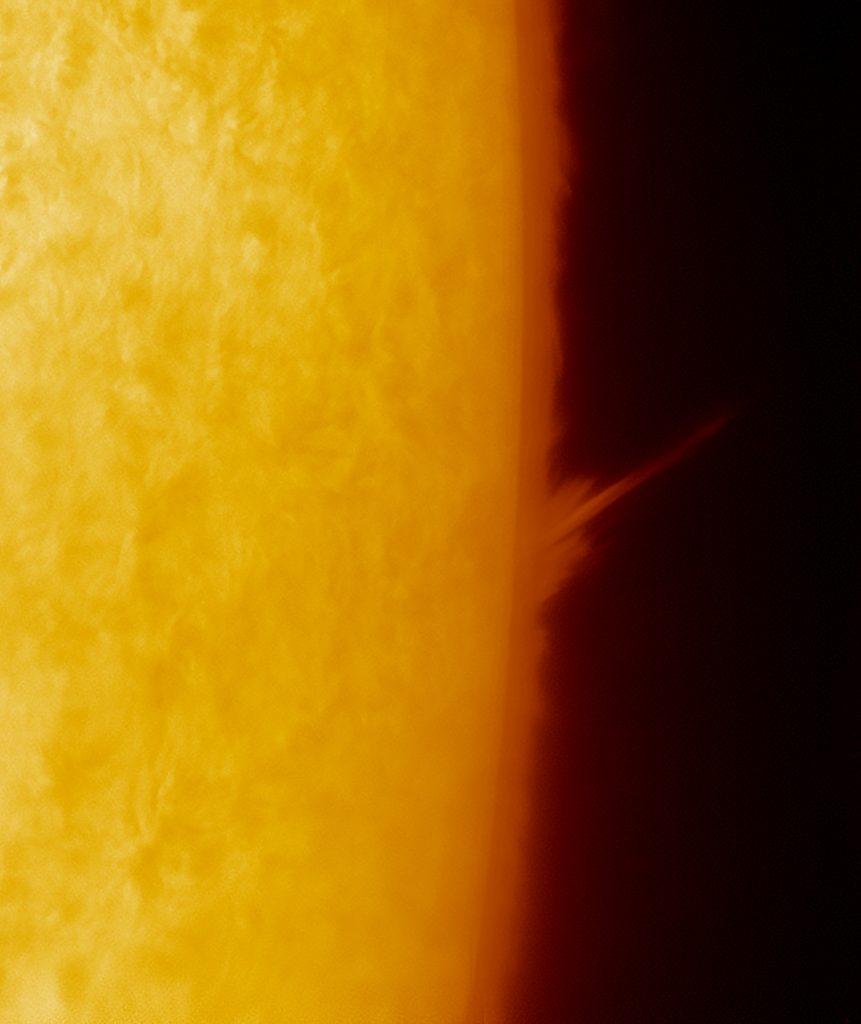
Towards the end of this imaging session I started to notice some bright circles starting to appear on the live image.
These started to get so bright, that I could not get any definition in the image as the brightness of these circles completely flooded the camera, obscuring any features on the chromosphere.
I removed the camera, quickly stuck in a eyepiece and took a peek. What I saw really startled me!
I could see what looked like 5 dark “bubbles* in the field of view.
Even more quickly, I removed my eye and decided not to use it again, as I didn’t know how safe it would be to use in this condition.
These “bubbles” were obviously scattering the light passing through the filter ruining the resulting image.
I also noticed that the indicator light was flashing somewhat and the Quark was now extremely hot.
Not knowing if the filter was safe to use, I packed it away and quickly contacted the suppliers to let them know that there was a problem.
365Astronomy were very good in testing the old filter and sending me a replacement.
Tentatively, after receiving the replacement, on the next convenient sunny day, I put the Quark through its paces.
This one wasn’t a patch on the first device when it was performing at its best.
Visually, it was much darker than the first one. When imaging, none of the magnetic field lines around active regions could be seen.
The view was almost as if I was using a white light filter.
This was a very poor imitation of the previous filter and definitely not worth the money I had paid for it.
Being a patient man, I persevered with it, trying it out on a number of occasions, just to eliminate me as the weakest link and testing the different tuning positions for this particular filter.
Whatever I did, I couldn’t get anything approaching what I had achieved using the previous filter before it went wrong.
Later I found I had problems getting it to re-tune. After 2 hours, the light was still orange.
It should go green to indicate it had reached working temperature after about 10 minutes.
At this point I was ready to give up on the device and once again contacted 365Astronomy to inform them of my plight.
They accepted the device back tested it and within a couple of weeks they sent me another replacement.
First light was a revelation. The image on the 120 Evostar was very bright.
Detail was easily visible on the chromosphere and prominences clearly seen. Lots of detail was visible.
Putting my trusty DMK41 on the Quark managed to reveal a faint prominence, despite thin cloud and difficult conditions trying to prevent me from capturing anything.
First light on the third Quark. 120 Evostar. 21st July 2017.
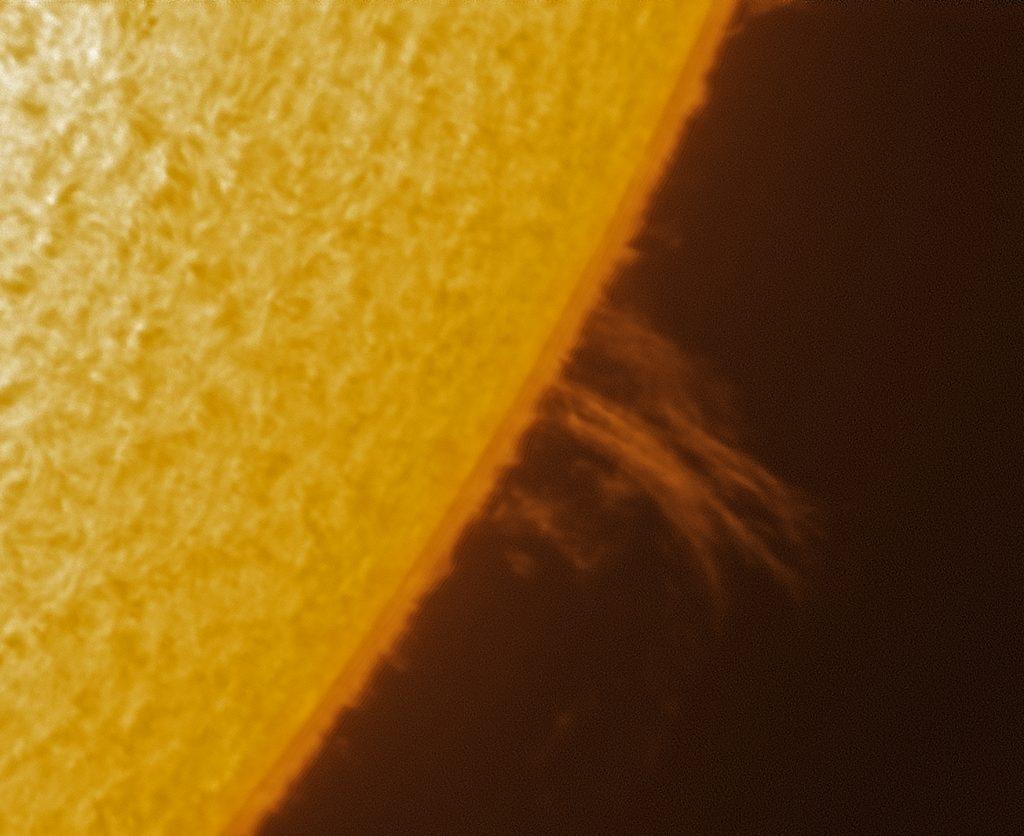
This looks like it was a very good Quark.
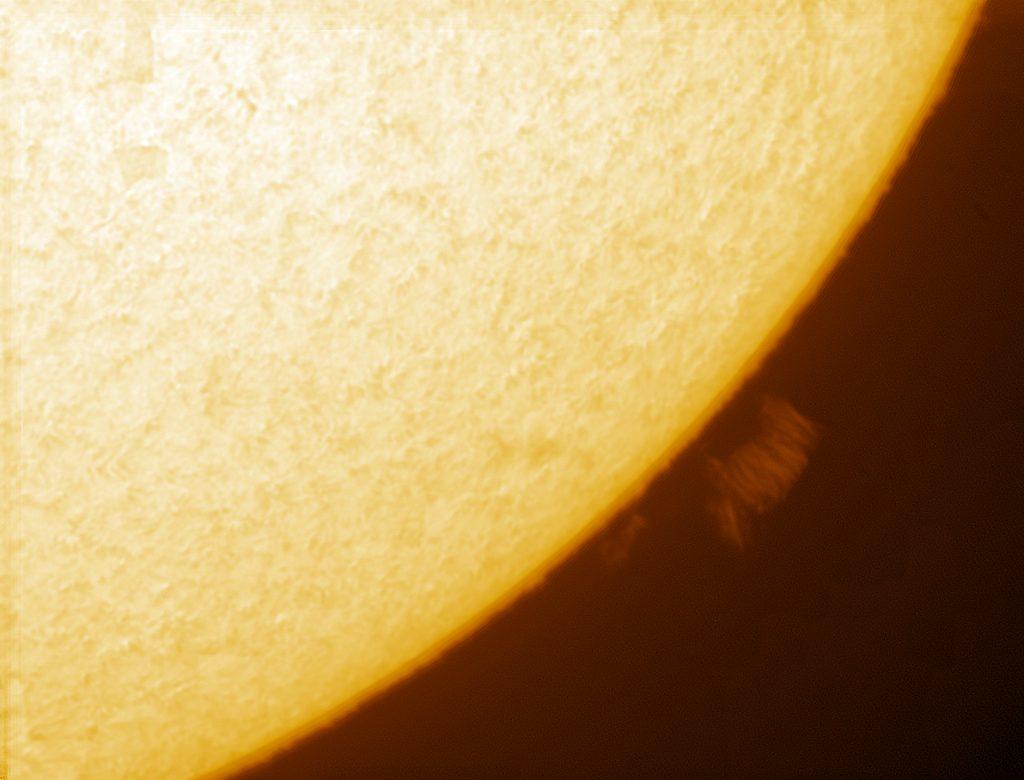
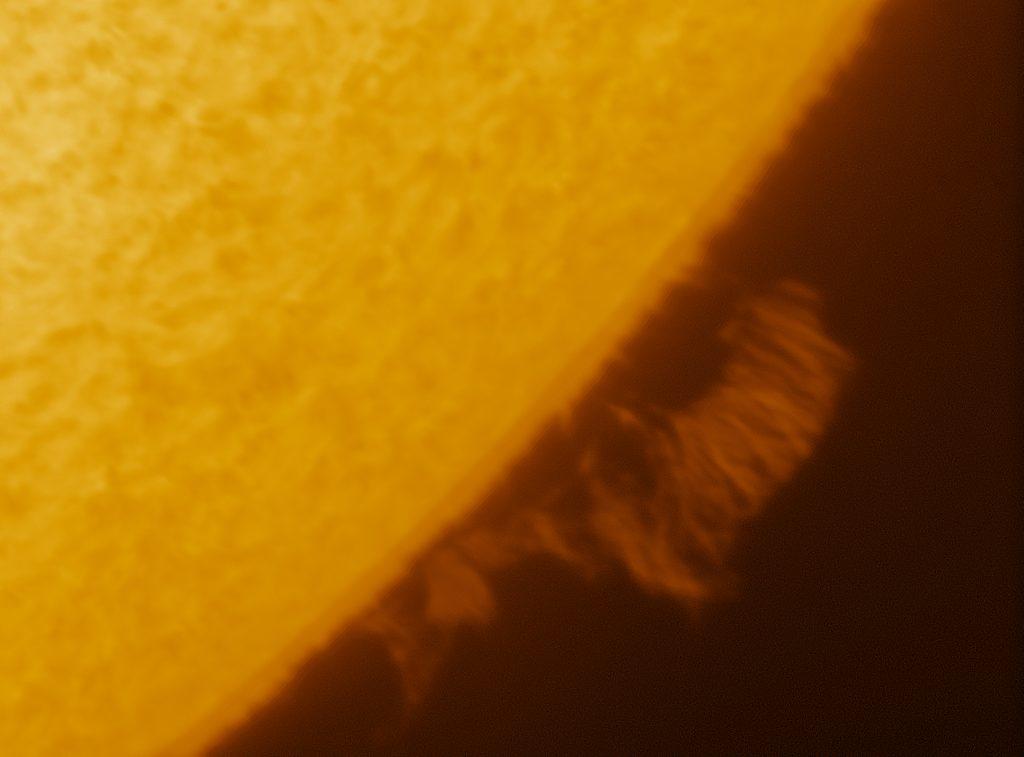
So, for the moment, I am really happy that I can view details on the Suns chromosphere and prominences and produce great images with this filter using both the ED80 and the Evostar.
Field of view when used with ED80 – 22nd July 2017
Field of view when used with 120 Evostar – 22nd July 2017
If the Quark continues to operate in the same manner as it does today, then I am finally very happy with the purchase.
All I can say at this stage is watch this space. I’ll let you know if it goes wrong again.
In Summary:
Check all sources for what is available at the time at your budget.
Avoid trying to buy a solar scope just before or just after a major event like a solar eclipse (Like now).
Around these times demand will be high and stock will be hard to find and probably more expensive.
If looking at buying a second hand Coronado scope, look out for the dreaded “rusting”.
Due to the difficulties of construction, all solar scopes and filter manufacturers, be they Lunt, Coronado, Solarscope or Daystar have challenges making etalons that perform consistently. They are extremely difficult to make, hence the expense of the equipment. As a result, despite quality control, depending on the wavelength pass of the etalon, you will get a scope that is Fabulous, Good or Passable, depending on the quality of the etalon that is contained within. So be wary. Compare scopes / filters if you can.
Most dedicated solar scopes have a pressure tuner.
This is an instant adjustment with no hanging about.
The Quark uses an electronic tuning system which heats the etalon to adjust the wavelength pass.
It can take up to 10 minutes to re-tune each time you change the setting.
This can be quite annoying, probably even more so if you have far less patience than me.
Written 24th July 2017.
If buying a Quark consider two things:
1. The aperture telescope you will be using it with.
Up to 120mm aperture an Astronomic UV/IR filter can be used.
If you use the filter with a bigger aperture than this, you will need to purchase a much more expensive ERF to use with it. This could push costs up enormously, the point of a dedicated solar scope.
2. Why buy the prominence only version if the Chromo Version shows both Chromosphere detail as well as Prominences? Again which version you get will depend on the wavelength pass of the etalon in the filter.
Test out what is supplied as soon as you can.
If the filter / telescope doesn’t perform as expected, contact the supplier as soon as possible to alert them to this.
They should at least arrange a replacement, or if all else fails, offer a refund.
Most reputable suppliers, like 365Astronomy will work with you to ensure you, as a customer, are really happy with your purchase.
They should work with the manufacturer to ensure the product is fit for purpose.
If the product isn’t fit for purpose, why should they continue to supply it to their customers?
A happy customer is a returning customer.
If you have any experience of these types of scopes or Quarks, I would be interested to hear from you.
It will be interesting to compare my experience with yours.
Contact me on dave@star-gazing.co.uk.
Dave
